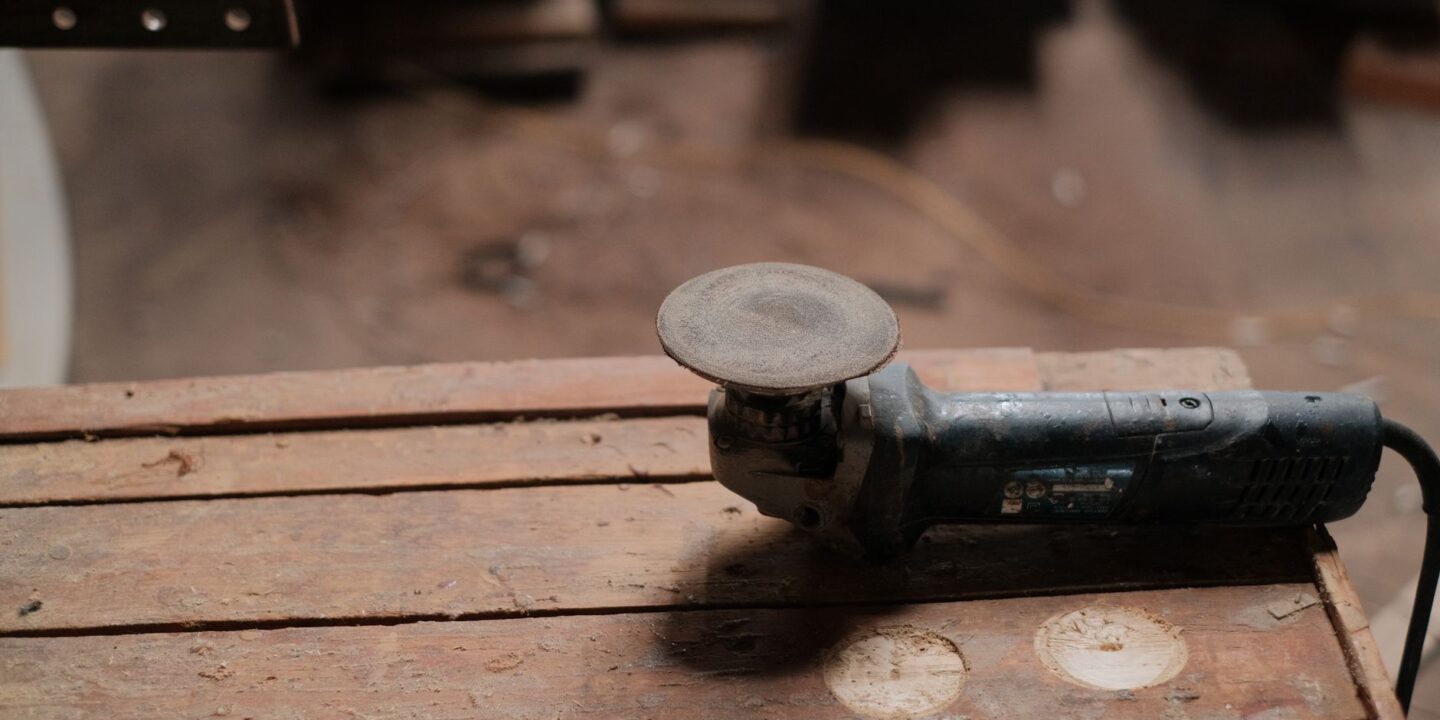

The blank garage. The empty basement corner. That spare room that’s been collecting boxes for three years. Most of us have one, a space with potential but no direction. It’s the place where projects go to die before they start because the environment doesn’t support making things happen. But imagine opening that door to find organized stations, good lighting, everything within arm’s reach, and enough space to actually move. That’s not a luxury, it’s the difference between a hobby that stays theoretical and one that actually happens.
Building a functional workshop isn’t about spending thousands on the fanciest equipment. It’s about understanding how you work, what you need to access quickly, and creating a space where your hands can move freely. Professional makers know this. They’ve learned that the workshop setup determines whether a project gets finished or abandoned halfway through. You don’t need a big budget, you need a plan.
Choosing Your Space and Assessing Constraints
Start with what you have. A corner of a garage. A section of a basement. An actual room. The size matters less than the fundamentals, electricity, ventilation, and light. If you’re working in a corner of a garage shared with a car, you need a solution that lets you pack up quickly. If you have a dedicated room, you can think bigger.
Measure the space, check the outlets, and look up at the ceiling. Low clearance limits what you can build. Limited outlets means investing in good extension cords or adding circuits. Poor lighting turns precision work into guesswork. These aren’t minor details, they’re the foundation of whether your workshop functions. When you’re ready to start ordering equipment, Vevor has everything from work benches to storage units, so you can build around your actual space.
The Centerpiece: Your Work Surface
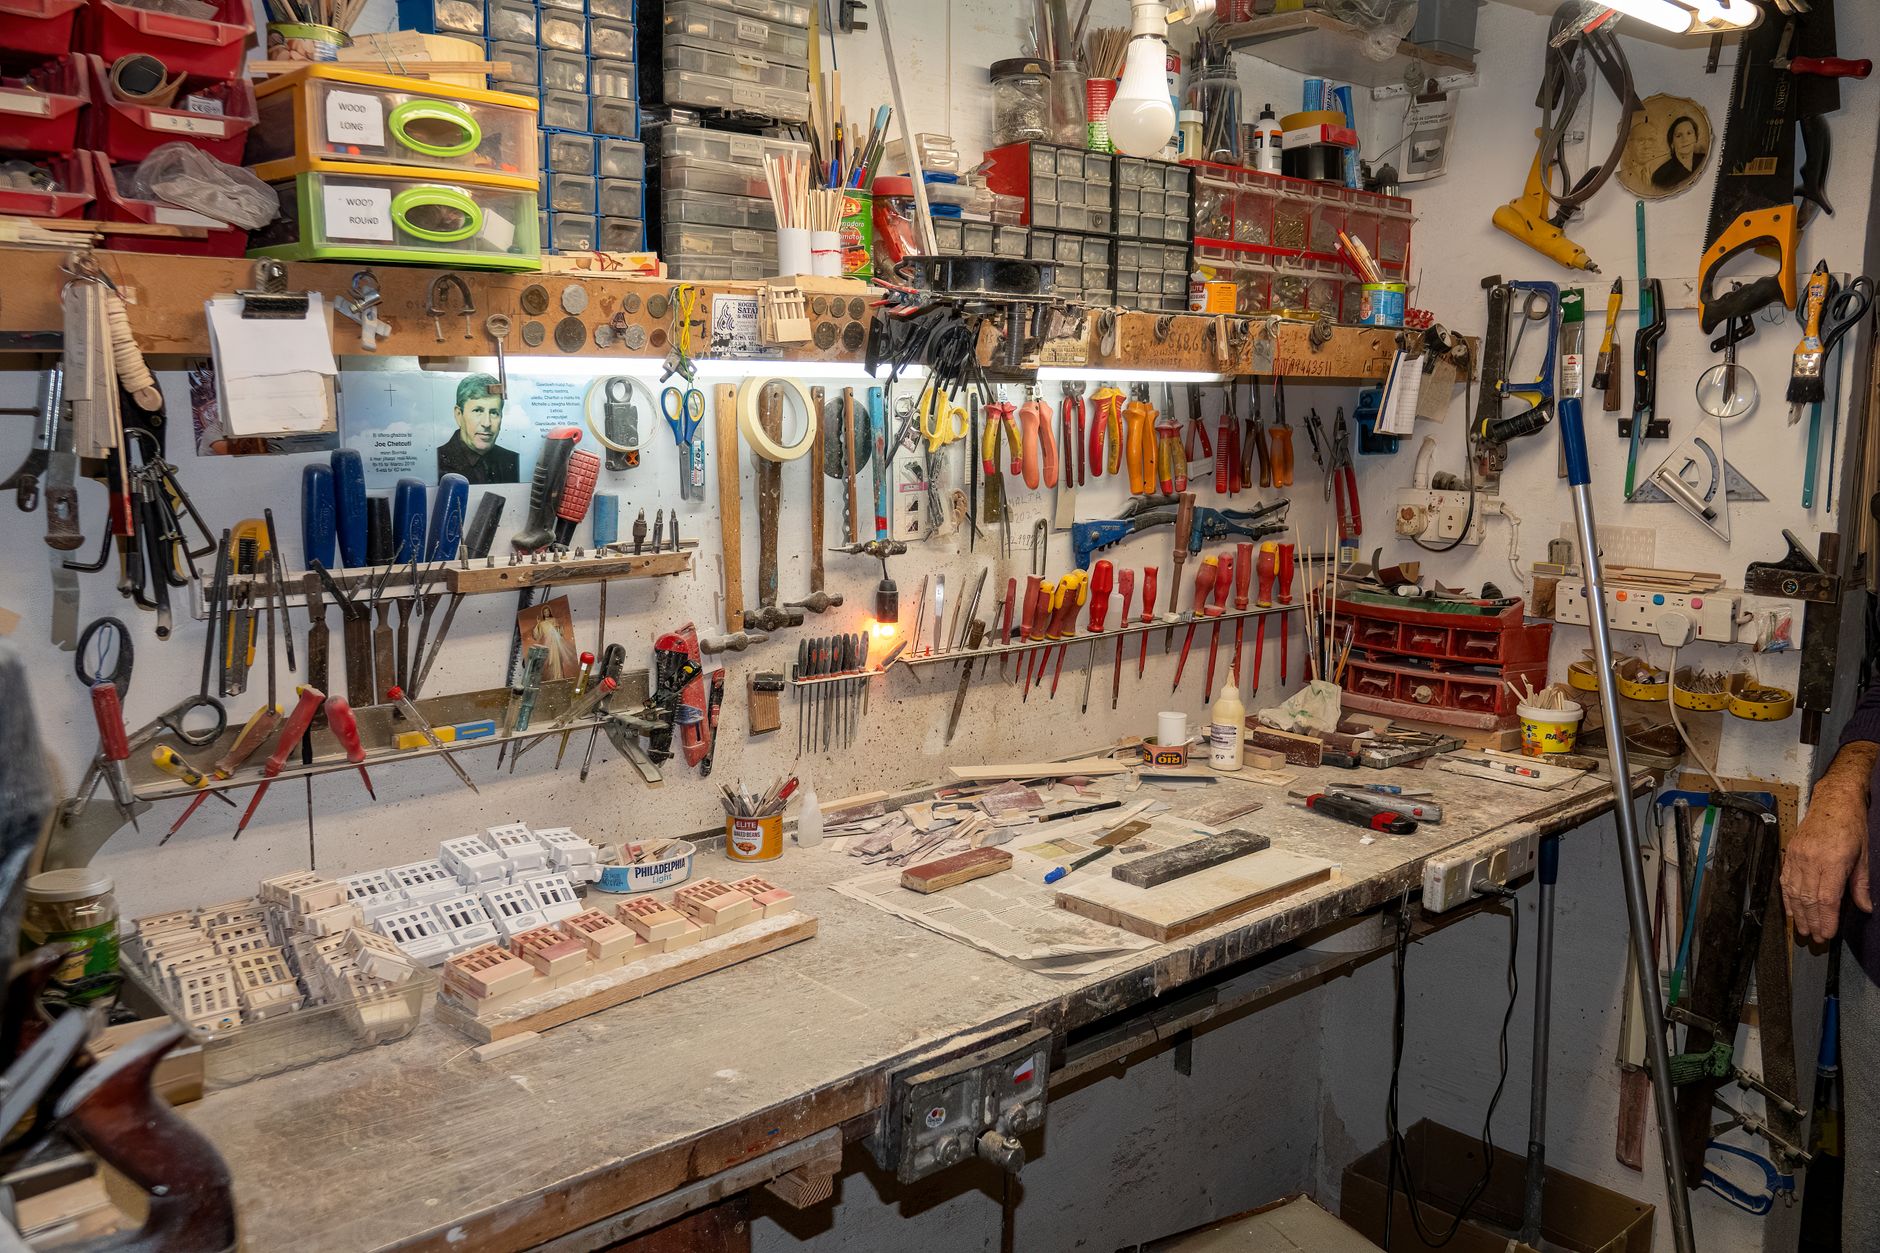
A good work bench is where the magic happens. It needs to be at a comfortable height, sturdy enough to handle the abuse, and with enough surface area to lay out materials and tools. The worst workspace mistake is having a wobbly surface that shifts when you press down on it. You’re fighting your equipment instead of focusing on the work.
Your workbench should be lower than standard desk height if you’re doing detailed work, higher if you’re standing for long periods. Think about what you’ll actually make. If it’s small detailed projects, you might want a lower bench with good magnification. If it’s woodworking, you need a flat, solid surface that won’t rack or move. Vevor carries benches at different heights for different work types, so you’re not settling for a generic surface that compromises on everything.
Storage Strategy: Everything Visible and Accessible
The workshop nightmare is having what you need buried under three layers of other stuff. So you buy a tool you already own because you can’t find it. Suddenly you have five of the same wrench. Storage needs to be visual. Pegboards work. Wall-mounted cabinets work. Clear plastic bins where you can see the contents work. Closed shelves where you can’t see anything? That doesn’t work.
Organize by frequency of use. Your most-used tools should be at arm height. Specialized tools you use once a month can be higher up or further away. Things you use twice a year can be in storage. This seems obvious but most workshops are organized randomly, with expensive tools buried and cheap ones everywhere. Vevor sells smart storage solutions, modular systems you can adjust as your workshop evolves.
Lighting and Ventilation: Often Forgotten, Always Noticed
Bad lighting ruins projects. A dust particle looks like a massive flaw. You’re squinting, you’re making mistakes, and you’re finishing faster because your eyes hurt. Proper lighting changes everything. LED shop lights are cheap and bright. Clip lamps for detailed work are essential. The investment is small, the impact is huge.
Ventilation matters even if you don’t think it does. Dust accumulates in your lungs. Fumes from stains and finishes need somewhere to go. A simple exhaust fan pointed out a window is transformative. If you’re doing serious finishing work, you need proper ventilation or a respirator. This isn’t optional if you want to still have your health in five years.
Power and Efficiency: Planning for Your Equipment
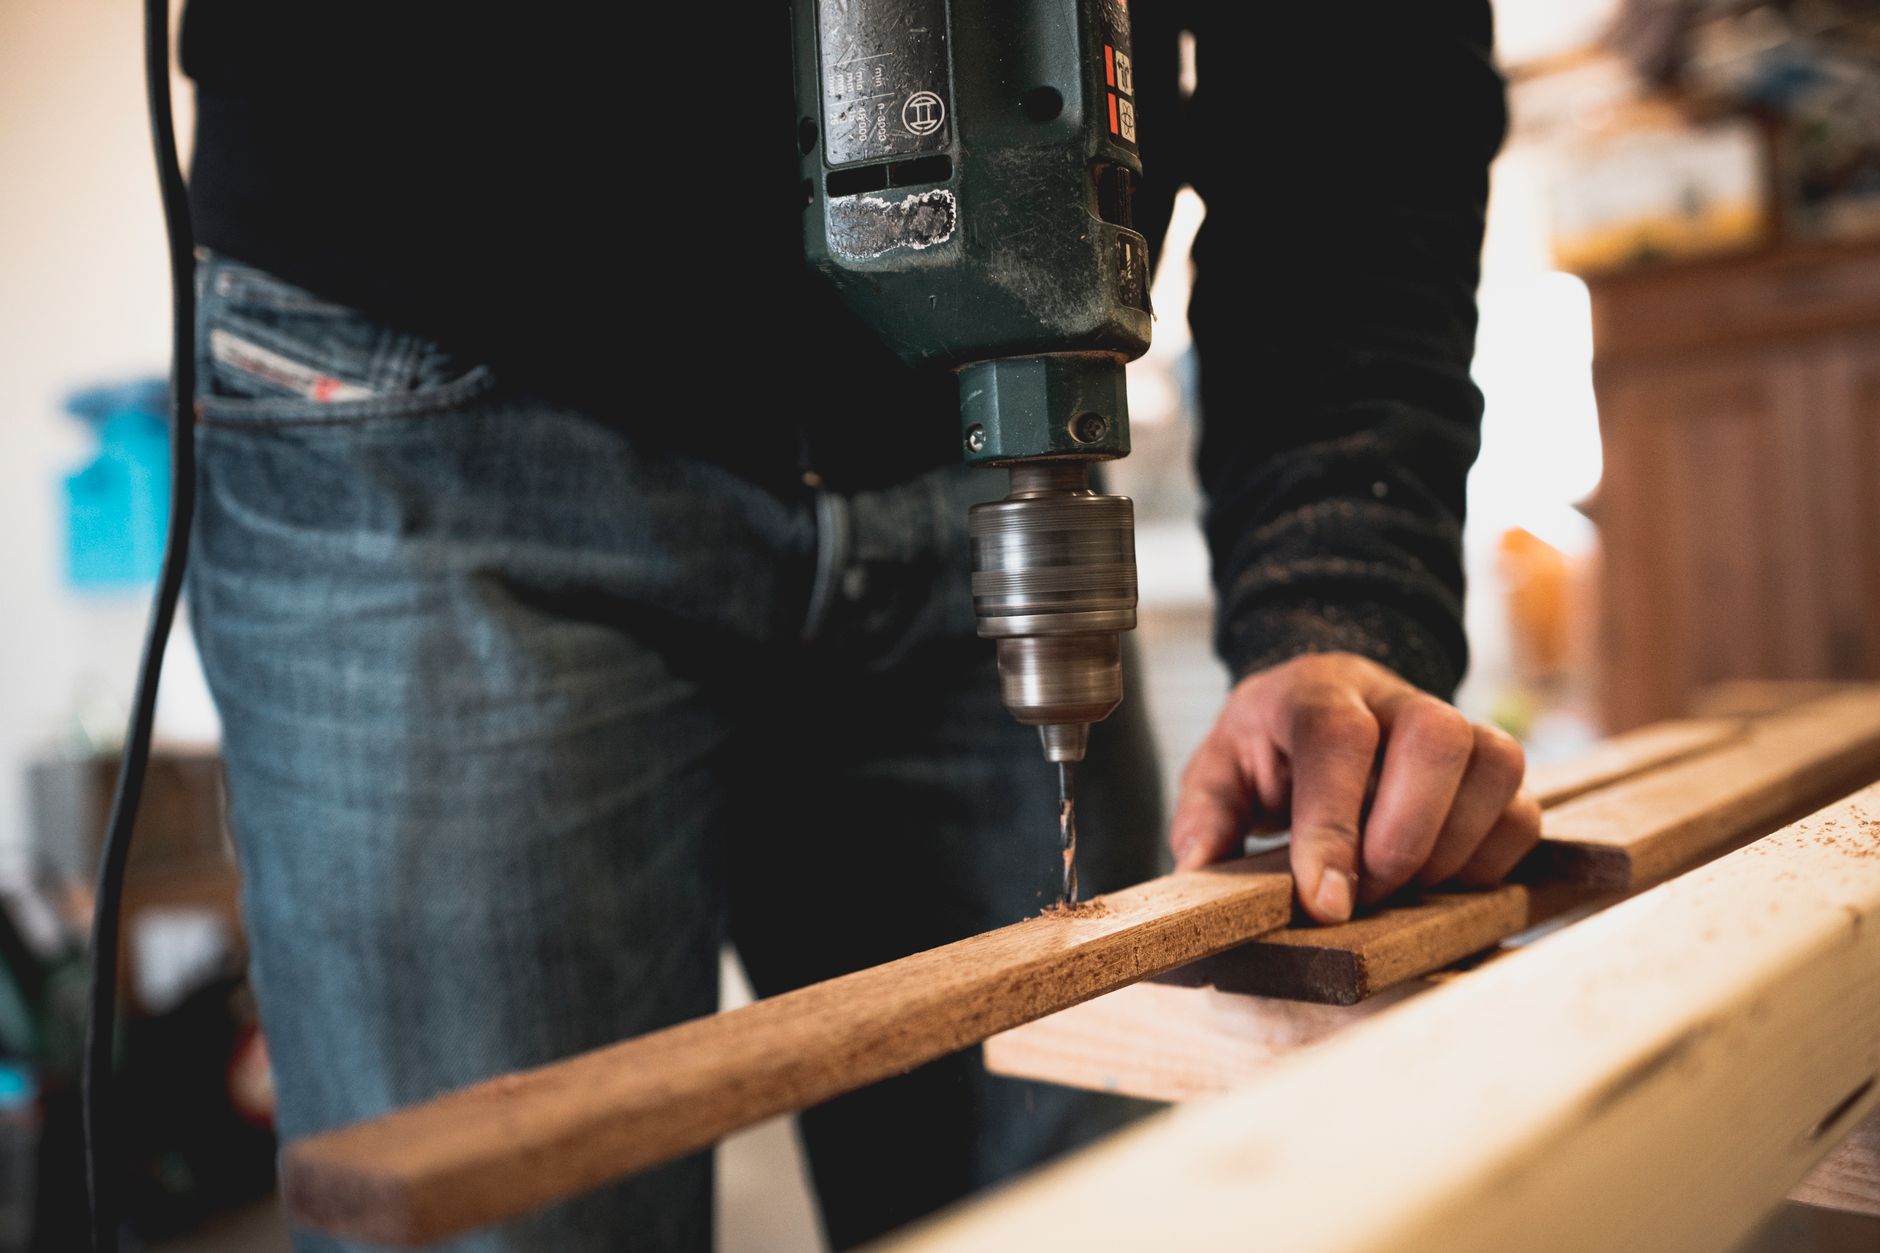
Count the outlets you actually need. Add three more, because you’ll always need more than you think. Heavy tools like table saws or air compressors need dedicated circuits. You don’t want your drill to dim the lights when you’re cutting. An electrician visit to add circuits is one of the best investments a workshop can make.
Organize power cords. Use raceways or clips so they’re not a tripping hazard. Label outlets so you know which circuit each one’s on. Keep your most-used power tools charging or on quick-disconnect systems. Vevor has tool batteries, charging stations, and workshop organization gear that makes the difference between a chaotic setup and one where you can actually move around and work.
The Finishing Touch: Climate Control and Comfort
You spend hours in your workshop. A stool that hurts your back, a space that’s freezing in winter or boiling in summer, and you’ll skip projects. A good stool costs thirty euros. A heater or fan costs sixty. Suddenly you’re spending time there because it’s comfortable. You finish projects because you’re not miserable.
If you’re finishing wood or working with paints, temperature and humidity matter for quality. Finish drying too fast in heat, too slow in cold. Some adhesives don’t cure properly in humidity. A thermometer and maybe a dehumidifier solve these problems. Climate matters when you’re making things that need to last.
Setting Up Your Workshop Stations
- Establish a main work surface at comfortable height, secondary surfaces for sorting materials and staging finished work.
- Create distinct zones, one for assembly, one for finishing, one for storage, so work flows naturally without backtracking.
- Install lighting over your main work area and clip lights for detailed work, position ventilation to pull dust and fumes away from where you breathe.
- Organize power with enough outlets and circuits for all your tools, use storage that lets you see what you have so you actually use it.
- Make the space comfortable so you want to spend time there, a good chair, proper lighting, and climate control transform casual use into serious making.
The workshop of your dreams doesn’t come together overnight. You add a shelf, you upgrade your bench, you install better lighting. Each improvement makes the next project easier and more enjoyable. The space evolves as you discover what you actually need. But it all starts with a plan, a commitment to organization, and investing in the fundamentals that matter. Vevor has the equipment to build it. The question is what you’ll create once you do.

Sienna is the creative visionary behind Posh Journey Style. With a background in fashion and a passion for global exploration, she curates the perfect blend of luxury travel, cutting-edge technology, and timeless beauty. Sienna believes that true style is found in the details, inspiring readers to elevate their daily lives with elegance and innovation.